When people ask me if I have a copy of movie X or TV show Y, I simply respond “no”. Yet I have watched them; without spending a bit of hard disk space.
When you have ample bandwidth to play with, you will find possible ways to make use of it without filling up your hard disk. And what better way to do it than to watch online media! And by online media, I mean streaming. But the problem with online media is that it’s so damn hard to find. And If you find a site, you will be hogged with ads and click baits here and there. You’d be having hundreds of open windows before you will be able to get to the actual media. So how do you get by all this?
Enter XBMC. Although it was built as a home theater software, I have not found a better streaming platform than this app. XBMC has a slew of add-ons that have been created by the community to make use of online content and aggregate them for the user to seamlessly browse through.
Still interested in this, eh? So, here’s what you will need to be able to watch all the online content you want:
- A high-speed internet connection, preferably not lower than 3Mbps. Although, based on experience, a 1Mbps connection works fine, but would be limited to streaming SD content. HD contents will need a higher bandwidth to shorten buffer times and stream continuously.
- A PC, or a Mac. It doesn’t really matter what computer you have. Heck, even Android can run XBMC. Although you might want one with a huge screen to enjoy your content.
- Patience and enthusiasm. Since XBMC is a free open-source platform, it has endless options from custom skins to add-ons, and hell of a lot of other customizations. It takes a very interested user to wade through all these, but a simple setup might work just as well for the less interested. To be honest, if you are just as easily distracted as I am, you will take the whole day just to set it up with all your preferences. But not everyone is like me, soo…
And now, here’s how you do it:
- Download XBMC from its website, XBMC.org. It is recommended to use the stable version. Windows users may click here. For all other platforms, click here and find your OS. Save the file and install it.
- After XBMC is installed, it will have the standard player, and you will be able to add your local media to be catalog in its elegant media library. Later on, I will show you my movie library from when I was fond of collecting them. But this is not what we are here for. You will then need to add the XBMC Hub repository. See next instruction.
- The XBMC Hub repository is a place where you can download add-ons. Much like the Google Play Store or the Apple App Store. You will need to add this to be able to install the add-on that we need. To add the XBMC Hub Repository in XBMC, go to System > File Manager. A dual pane may show up, and you can use either side to add the repository. Click Add Source and click on the path that says “<None>“. Type in “http://fusion.xbmchub.com” and hit Enter. In the name, let’s call it XBMC Hub.
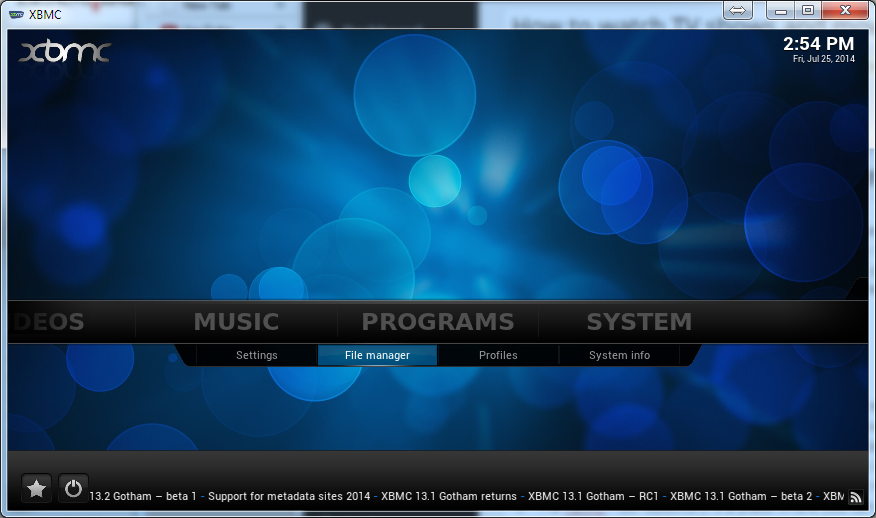
System > File manager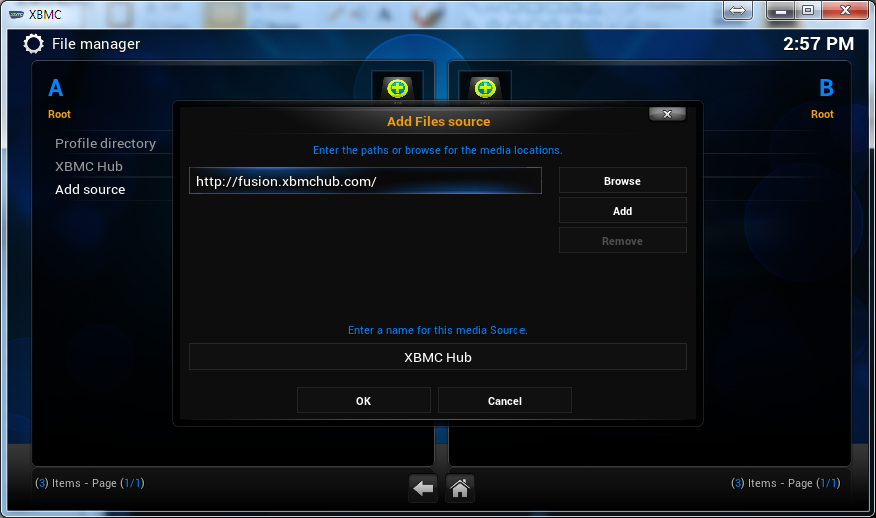
Add source > fusion - After the XBMC Hub repository is added, we are ready to get the add-ons! Now let me point out that add-ons are actually contained in various repositories, and the XBMC Hub was just our source to add these repositories in. Get it? A repository of repositories! See the next item to find out how to add these repositories. Warning: A single repository may contain hundreds of add-ons! They are not installed by default, though, but they will give you a hell of a time scrolling the add-on directory for the one you want!
- We will want to add Video add-ons. So which content would you like to watch? I bet many of us want to watch the entire Game of Thrones or Agents of S.H.I.E.L.D. installment! And you can! Below are the add-ons I use for all my movie and TV needs, but you may Google for others:1Channel/Primewire – This is my prime spot for the latest TV shows and movies. Although most contents are only in SD, quality is never so bad. After all, you get them when they are out, and you never have to hunt for them! Repository: Bstrdsmkr
TV4ME – My second go-to for TV shows. It has a prime advantage to 1Channel for just playing the media right away – it looks for a working source. 1Channel lets you choose the source first and find one that works. Repository: Kinkin
Navi-X – This is a whole league of its own. It is like a file system in the cloud with the contents updated by the users. Most new releases are found here, even CAM versions of movies. You will also find HD movies here when they are available. Repository: Just XBMC Hub. You will find it there.
First one on the list.There are lots more add-ons that aggregate media files into the app – Cliq!, Mash-up, YIFY Movies – to name a few. You will have to hunt them if you have plenty of time in your hands.
- To add the add-ons above in your XBMC, go to Videos > Add-ons > Get More… > .. > .. > Install from zip file. Click on XBMC Hub > xbmc – repos, and choose the specific repository indicated above for each item. After selecting the zipfile, it will indicate in a few seconds that the install has been successful. Click on Get Add-ons, then right-click on the repository that you added and choose “Force refresh“. This will ensure that you have the latest list of add-ons. Give it a minute to update, then click on the repository name and click on Video Add-ons, and find the add-on you want and install it.

Videos > Add-ons > Get more… > .. > .. > Install from zip file 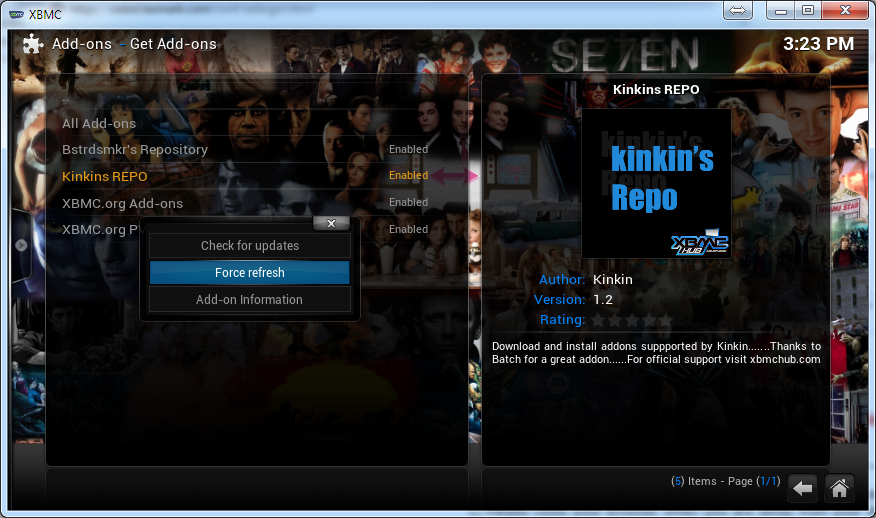
Force refresh the new repo to ensure you have the latest list 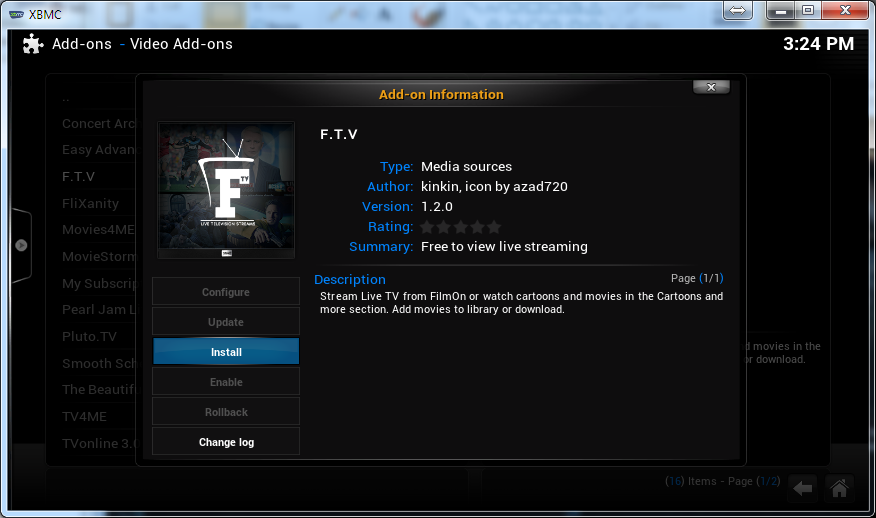
Choose the repo added and click on Video add-ons, and find the one you want and install. - You will get a notification that the add-on was successfully installed. Congratulations! Now to use the add-on, go to the home screen (just click on the home icon) and go to Videos > Add-ons and you should see your add-on.

Notifications appear on the lower right corner of the screen. It should show an “Add on enabled” whenever an add-on is successfully installed.
Now all you have to do is do the same procedure to install the other add-ons. And as you may see, your list of available add-ons grow as you add more repositories. So much to choose from! Bonus – most contents will also include banner art and captions. Oh, oh and don’t forget subtitles!
So with a setup like this, who wants to download media when you will watch it only once anyway? Enjoy your favorite show!


Haha bored? 🙂 Wala naman ka studyhan gud 🙂
Ahahaha yea. Too much free time! Lol
basta morning shift. promote daun
basta morning shift. promote daun
xbmc on ios ahemmm hehe
I just checked it out… Naa jud diay! Hehehe http://wiki.xbmc.org/index.php?title=HOW-TO:Install_XBMC_on_iPad/iPhone/iPod_touch